Follow Me on Pinterest

I am a wife and mother to the most beautiful little girl. I love spending my time with my family and doing crafts. My blog is about anything and everything, whether it be about family, crafts, recipes or fun times!
Powered by Blogger.

Thursday, December 13, 2012

Easy DIY Ruffle LampShade

I bought this lamp at HomeGoods, but the shade was just plain white and boring. I wanted to do something to make it stand out a little more. I found some white burlap at Hobby Lobby and started to get to work. I originally cut 2-3 inch strips(you can cut it however wide you would like, depending on how big you want the ruffles), sewed down the middle, and started pulling the thread to make the ruffle. Unfortunately it was so hard to pull the thread through the burlap, it ended up breaking the thread. I didn't know how else to make a ruffle, so I just started to wing it. I just took the strip and started to make the ruffles as I was sewing. You will just sew straight down the middle of the strip folding the ruffle as you go. I then hot glued the strips around the lampshade, and was done! It was so easy, and I love how it turned out. 


Wednesday, November 14, 2012

Hello Dolly Bars (aka Magic Bars)

Growing up, my Mom would always make a treat on Sunday nights. Hello Dolly Bars seemed to be the choice on most occasions. Still to this day when I am over at my parent's house for Sunday dinner, my Dad always suggests that we make Hello Dolly Bars.They are just that good! Warning: Once you try them, you will be addicted. Hope you enjoy!

Hello Dolly Bars

1 1/2 cups graham cracker crumbs  
1/2 cup butter, melted  
1 cup butterscotch-flavored chips  
1 cup semi-sweet chocolate chips  
1 1/3 cups flaked coconut  
1 cup chopped nuts (pecans)
1 (14 oz.) can sweetened condensed milk   

Preperation:

Melt the butter in a pot; mix in graham cracker crumbs. Pat crumb mixture in a 9x13" baking pan (spray pan with cooking spray first) to make crust. Sprinkle the remaining ingredients over the crumbs in the order given above, in layers. Drizzle the sweetened condensed milk on top. 

Bake at 350 degrees for 25 mins. Let cool.


Just some notes: The graham crackers usually have 3 bags in each box. I take 2 bags and smash them with my hands before I open the bag to make the crumbs. I then take 1 1/2 sticks of butter and melt it, and then add 1 1/2 bags of graham cracker to the butter. I like to have a thicker graham cracker crust, so it really is what you prefer. I do not measure any of the ingredients. I just spread them out and eyeball it. I also found that I like to use a pie dish instead of a baking pan. 


Saturday, November 3, 2012

Frame Wall

One year for Christmas the hubby got me a clock that I had been wanting for a long time. YAY!  It has our last name and the date that we were married.  I wanted to display it for everyone to see, but I did it pretty fast and I never liked the two candle holders on the sides of it. I could never really think of what else I could put to make it look good, so sadly it sat like that for a couple of years.  Yes... yes.... I was that lazy to change it up even though I absolutely hated it! So one night while browsing Pinterest, these frame walls kept popping up everywhere. I thought they were so cute, then a thought popped into my head that I should try and do something similar on the big wall and I can finally get rid of those ugly candle holders! So the next day I went shopping.  I wanted to have silver and gray frames, and found a couple that I loved from TJ Maxx HomeGoods.  I then made my way to Hobby Lobby (seriously, who doesn't love that store??) and found a yellow mirror, and a blue J to add some color.  The hubby helped me hang them all and I love how it turned out. I still want to eventually add some more frames, but for now it looks so much better than before!

~Before~


~After~


Wednesday, October 10, 2012

Creamy Chicken Noodle Soup

Fall and Halloween are my favorite time of year. I love the cooler weather, the falling leaves, and comfy sweaters and boots. We decided this past Sunday was the day to bring all of our Halloween decorations down from the attic and get it all set up. While doing so, it put me in the mood for Home-made Chicken Noodle Soup. I learned this recipe from my Mom, and it is by far my favorite one that I have tried. It is the best dinner to make on a cold fall night.

Creamy Chicken Noodle Soup

8 Chicken Bouillon Cubes (8 Cups Water)
2 Chicken Breasts Cooked & Diced 
(Or use a Rotisserie Chicken)
1 Cup Milk
3/4 Cup Carrots Cut in Half
3 Celery Stalks Including the Leaves
1 Green Bell Pepper Chopped
1/2 White Onion Chopped
1 Clove Garlic Minced
1 Tbs. Marjoram
Salt & Pepper

In a large kettle on Medium to High heat, combine broth and all above ingredients until vegetables are crisp tender. 
(I usually add another cup or two of water and 1 Bouillon cube to have more broth)

Grandma's Egg Noodles
1/2 Cup Milk
2 Tbs. Margarine 

Add the remaining above ingredients and cook until noodles are done and the vegetables are soft. 

*You can adjust the amount of vegetables to your liking.  I also make some home-made breadsticks or use the Pillsbury breadsticks to go with it.


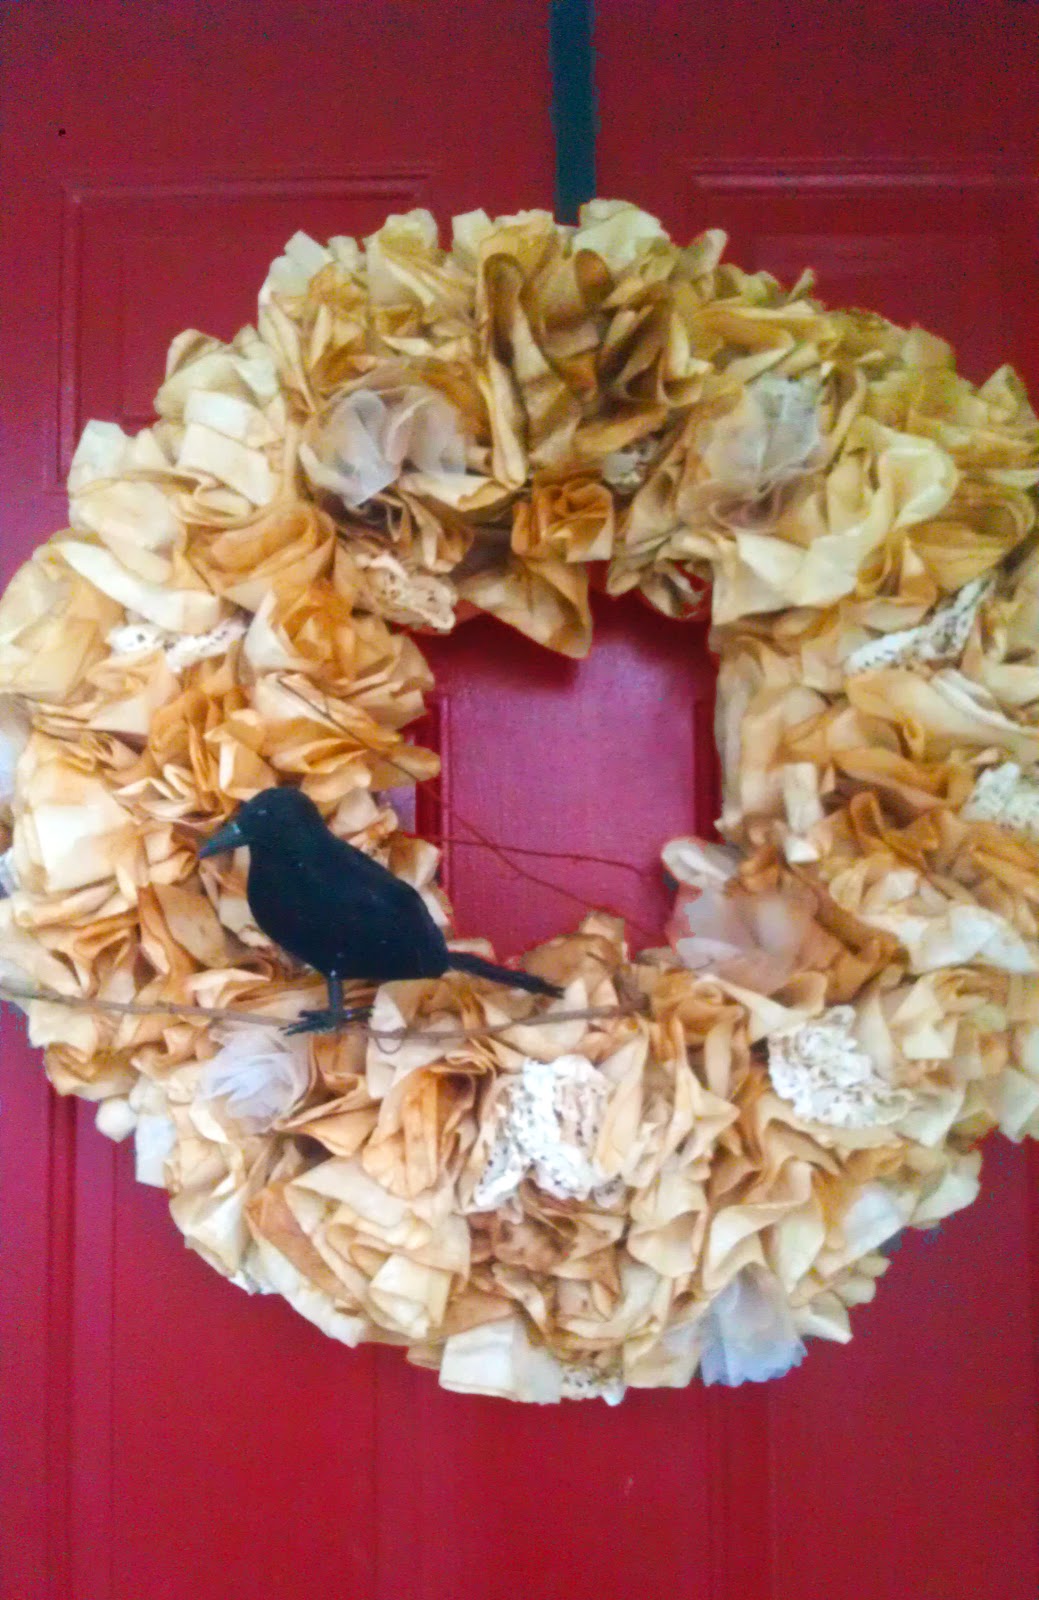
Here are some of our Halloween decorations. I couldn't talk about it without posting some pictures! 


I hope everyone loves this soup as much as we do, and has a Happy Halloween! :)

Monday, September 17, 2012

Pantry Organizing

I decided to tackle organizing my pantry! Every time I would open the pantry door, I would cringe a little bit at what I saw. It has been so unorganized since we moved in almost 4 years ago. I was and am so embarrassed at the way it looked, but never really did anything because I could just close the door and no one would see it.... right? Well, I would see it multiple times a day and I hated it! I was browsing Pinterest one day and finally got the inspiration to get it all organized. Unfortunately I have such a small pantry (nothing like the nice big ones you see all over Pinterest), so I was worried with how and what I could use to organize it. I wanted to use clear containers for the cereals and oatmeal, but could only find expensive ones everywhere I went. Most place had a box of 4 for around $30! I could not justify spending that much on 4 containers. I made my way to Ikea one day for some curtains, and found some clear containers that were exactly what I was looking for. They were a lot cheaper than anywhere else I have seen them. I went to a couple of places to look for the storage bins as well. I should have known in the beginning that Target would have some great options. Is it just me that is completely obsessed with this store??? I find myself at Target at least once a week! They have some great stuff for such good prices. Once I got home I couldn't wait to start organizing. It probably took me around 20 minutes to do the organizing and I am so happy with the way it looks now. I do not know why I took so long to do this. Here are some before and after pictures:

(Before~ So embarrassing!)


(After~ I love how organized it is now)


We added a shelf at the top to store the CrockPot and Misc. things


Monday, August 20, 2012

Chevron Birthday Party!

This year has flown by so fast! I started planning little R's birthday a couple of months in advance, knowing that I would be making a lot of the things and needed time to get it done. It was so much fun coming up with the theme for her birthday party, and I finally decided on bright colors and chevron print. It was a lot of fun having everything come together. We had so many friends and family at her party, and she was so spoiled!

Frame~ Hobby Lobby and Chalk Board Spray Paint


TableCloths~ Made by my Mom & I


Snacks~ Little R's favorite snacks :)


Dessert~ Yummy Doughnuts instead of cake


Banner~ I made with Brown Paper Lunch Bags, Scrapbook paper, and Clothespins


The Birthday Girl!


She was so happy :)


Cake Time!


HighChair~ Purchased used off of the classifieds and spray painted


The kids had so much fun playing in the bucket where the drinks were with the melted ice. She chose this over all of her new presents! We had a lot of fun and the party turned out great.  Now I can't wait to start planning her 2nd Birthday Party! :) 


Sunday, August 5, 2012

First Birthday Pictures

R's first birthday pictures. I cannot believe my little girl is already one! This last year has flown by so fast, and she has changed so much and has developed the cutest little personality. We wanted to take some really cute photos of her for her birthday, but didn't have the money to get a photographer. We knew we would be spending a lot on her birthday party(more on that to come on a different post) and presents.  So we decided to take the pictures ourselves, even though the hubby and I are definitely not photographers.  But we try.... We took our Nikon D3000, props, enlisted the help of my MIL and SIL and drove up the canyon to Silver Lake.  We had no idea where we were going to take the pictures, but luckily we found some great areas along the boardwalk going around the lake.  It was so beautiful up there, and the pictures turned out exactly how I was imagining them! When we started, it was overcast, so the lighting was perfect.  Then the sun started to come out, so there are a lot of shadows in some of the pictures.  But all in all, I am so happy with them.  Little R did awesome posing for all the pictures. :)

Chair~ This was a present from Little R's Aunt & Uncle. It is from LoveSac.
Frame~ The frame was purchased at Hobby Lobby.  I cut out some wood and spray painted it with chalkboard paint(also from Hobby Lobby).
Birthday Hat~ This was purchased at Thanksgiving point in Lehi, UT.